First, we will show you how to change the large number editor (Figure 1).
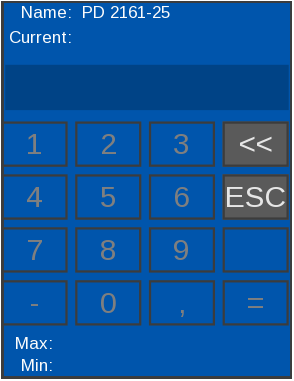
Afterward, in the second section, we will show you how to make the large number editor from the default number editor (Figure 2).
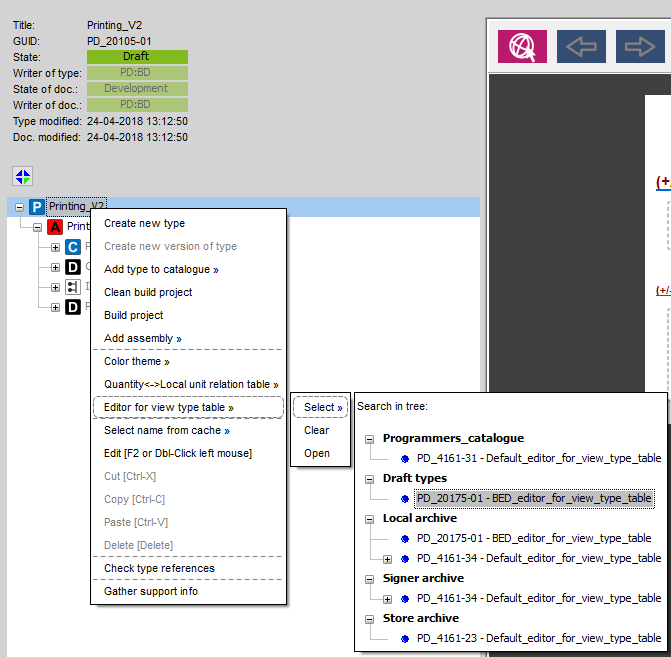
Figure 2: The default number editor.
Section 1: Change the large number editor
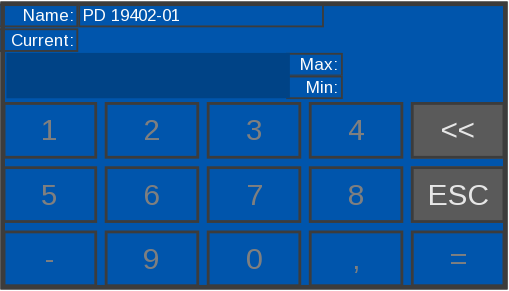
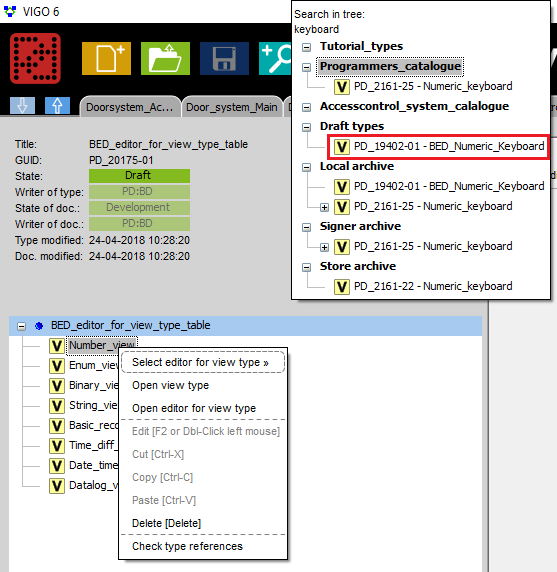
STEP 1 To change the button structure of the large number editor, first, make a clone of “Large Numeric Keyboard” GUID "PD 19402”.
STEP 2
Figure 3: An example of a different large number editor button setting.
Change the “Keyboard_layout” default label text, depending on the button’s new function.
If it’s only the numbers that change place, you don’t need to make any other changes. But if you change the place of a function key like +/-, then you also need to change its index in the “Paint_keys” and “Do_on_hit” methods.
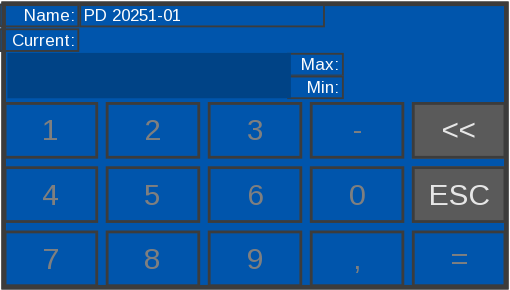
Figure 3 shows a new “Keyboard_layout” that looks like Figure 4. We have swapped the +/- button with the number 4. In addition, we have moved the numbers around.
Figure 4: How a different large number editor layout can look.
STEP 3
The “Paint_keys” method needs to have the button index for +/- changed. See Figure 5 and Figure 6.
Figure 5: The default large number editor Paint_keys +/- index and the new below.
Figure 6: New large number editor Paint_keys +/- index.
STEP 4
The “Paint_keys” method needs to have the button index for the number key changed. See Figure 7 and Figure 8.
Figure 7: Default large number editor Paint_keys number index.
Figure 8: New large number editor Paint_keys number index.
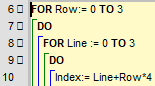
STEP 5
And the “Do_on_hit”, first line 39 on Figure 9 and Figure 10:
Figure 9: Default large number editor Do_on_hit +/- index.
Figure 10: New large number editor Do_on_hit number index.
STEP 6
Then line 8 on Figure 11 and Figure 12.
Figure 11: Default large number editor Do_on_hit +/- index.
Figure 12: New large number editor Do_on_hit number index.
Section 2: Making a large number editor from the default number editor
To use the new number editor: 1. Open the “Default_editor_for_view_type_table” GUID: “PD 4161”. 2. Make a clone of it. 3. Change the “Number_view” editor to the new one (Figure 34). 4. Change the project editor to the new type (Figure 35).
Figure 34: Change the number editor to the new one in the clone of the default editor for view type table.
Figure 35: Add a new editor for view type table to project.