Display_printer_interface is a subcomponent that allows the user to print a view on a physical label on a printer. First, connect the printer to a module that fits to the printer, specifically PD 688 or PD 803 – via the USB port.
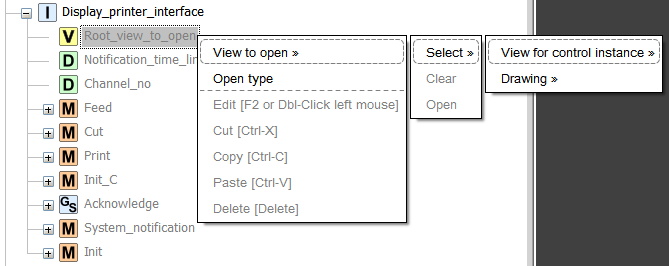
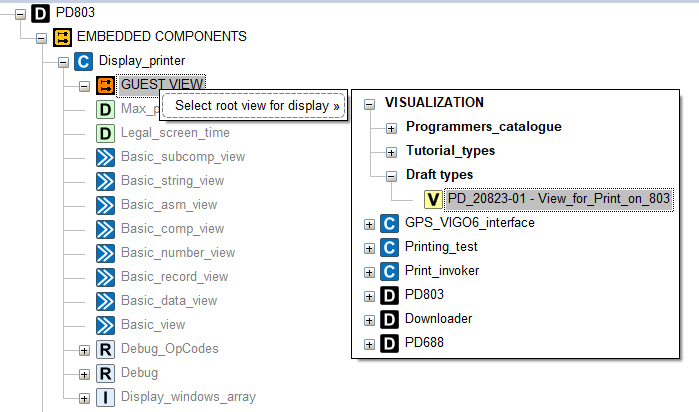
Once you have added the subcomponent in a project, you also get the option to add the print view through the Display_printer ‘s guest view, just as you would do with a normal view in the Display_screen.
Now call the method Display_printer_interface.Print() to start the print.
After this method is done, you have printed on a physical label. We prefer to run the Display_printer_interface.Cut() method right after the .Print() method. By doing that, you don’t have to remove the label your self. Furthermore, we have a Display_printer_interface.Feed() method, which you can use to release paper from the printer without printing. It is a helpful method, if the printer doesn’t have a physical “Feed” button.
Be aware that you can only locate a component with the Display_printer_interface in a device with the Display_printer component. Today, it is only the PD688 and the PD803.
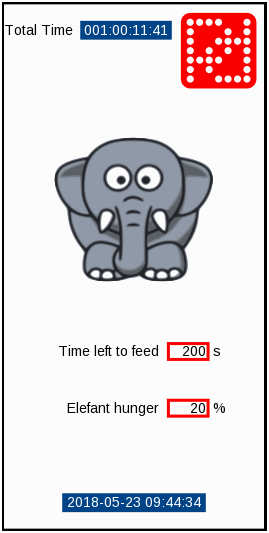
Designing your printer visualization for the "Display_printer_interface"
The visualization, which we want to print on the physical label, is a descendent to a view. Examples are Asm_view, Comp_viewor just a Basic_view dependent on which type of visualization we plan to print.
Best practice is to have a maximum view_region “X&Y” position of 70mm x 140mm.
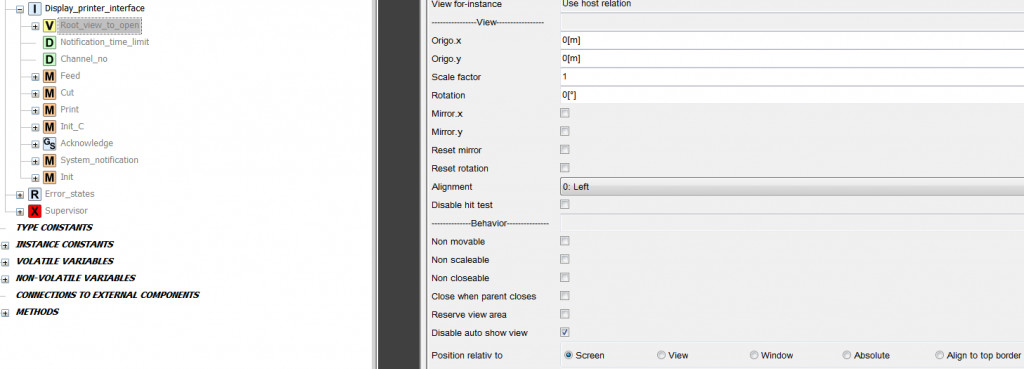
By clicking the instance constant we get access to change some properties.
Among these, the “Position relative to” option which you should set, following our best practices’, to either, Absolute with a “Position.x, Position.y” of (0,0), or Align to top border. This way we can ensure that the physical label is as we have designed in the editor.
Furthermore, you should not to tick the “Non closeable” checkbox, because this will result in an unwanted behavior. In addition, we have some constraints with colors, due to the subcomponent that is only designed to print in black or white. For example, if we are trying to print a color rich picture on the printer, then a method will try and calculate each pixel to choose if it should paint it or not (black or white). Therefore, we prefer to make the drawing in black or white, as long as you want to print it on a label.
You should now be ready to print your own visualization with the Display_printer_interface.