VIGO6 does not support bitmaps, i.e. pictures or drawings in the format of .png, .jpg, .bmp etc. If you want to use bitmaps in VIGO6, you must redraw them and save them as .svg.
NB! It is not enough to open the bitmap file in a vector graphics editor such as Inkscape, and save it as an “.svg” file. By doing this, you will still get a non-convertable source for the COPP Converter, as the file is not a vector graphics drawing, but still just a bitmap in disguise.
Let’s start converting a simple png file: In this example, we use the free vector graphics editor Inkscape.
Getting ready
First thing before we even start using the program to draw. We need to make sure that we choose the right settings in inkscape:
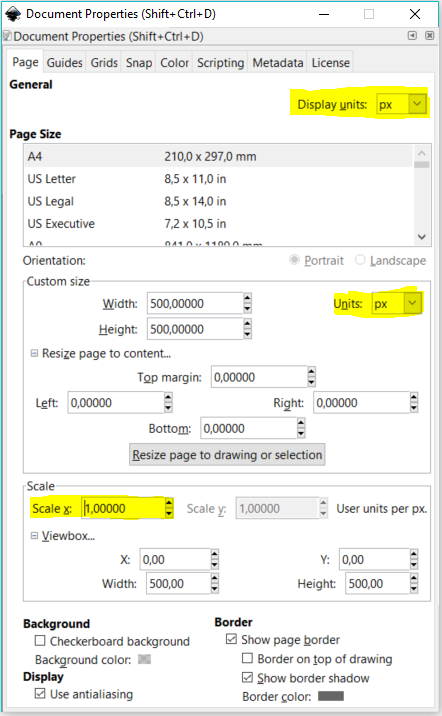
Shift+Ctrl+D is the shortcut for opening the document properties.
In this properties panel we need to set both our "Display Units" and our "Units" to pixels (px).
Another important thing is to set our "Scale x:" to 1. Normally it is 0.265, which would make the source into mm instead of pixels.
Drawring in bitmap
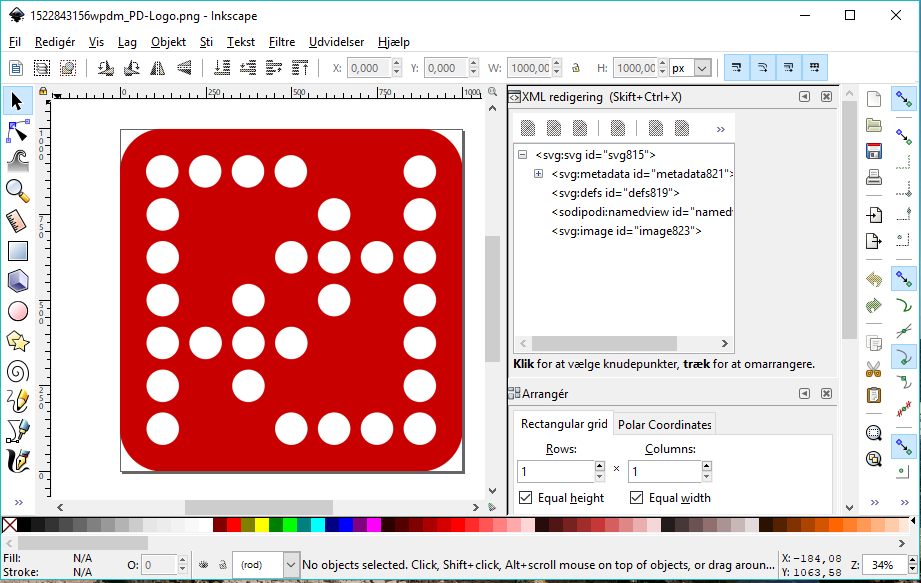
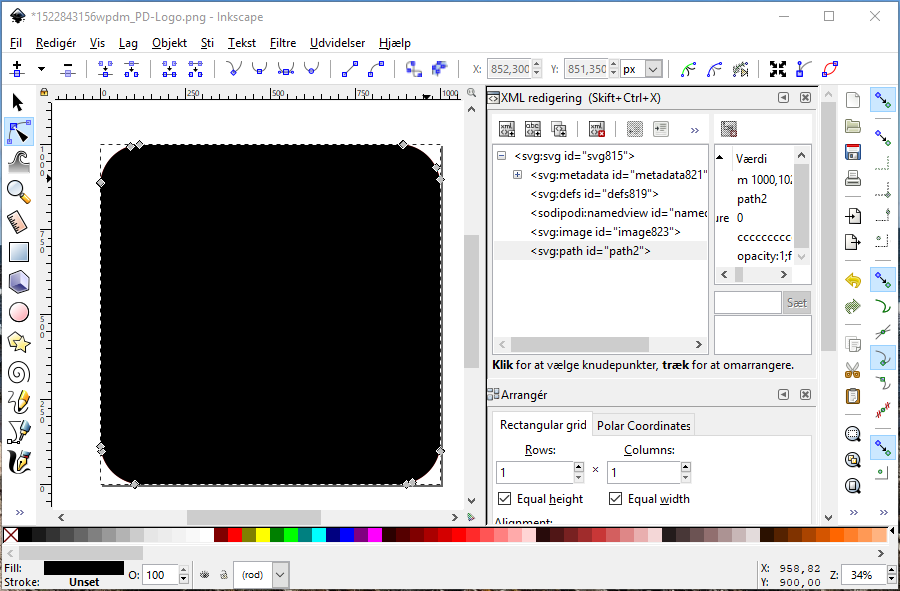
1. First we open our bitmap drawing in Inkscape:
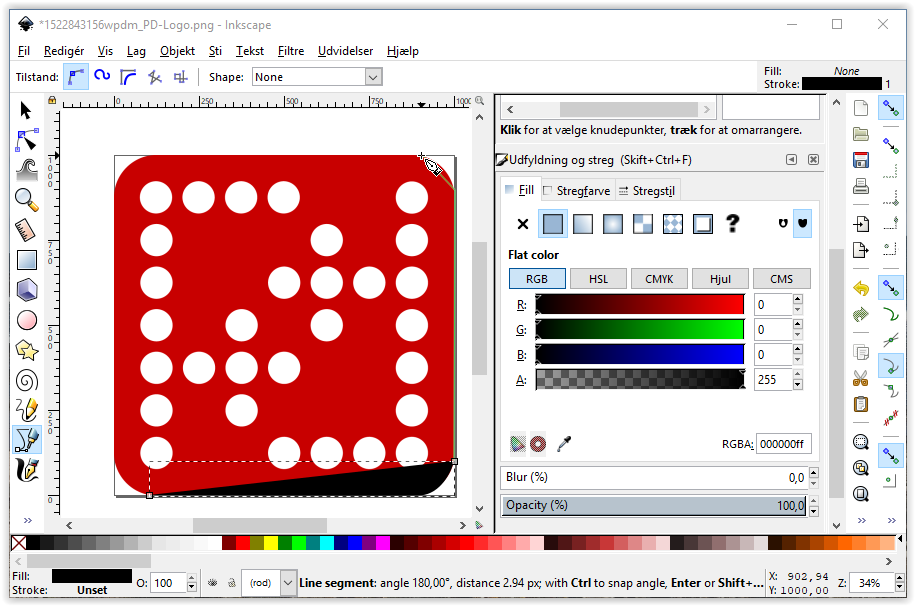
2. Using the Bezier tool, we now start drawing a path on our bitmap drawing:
3. You can always pull in the section between two points in the path to get the exact curve and form you need to fit with your bitmap. In this example, we do it on all the corners to get a rounded form.
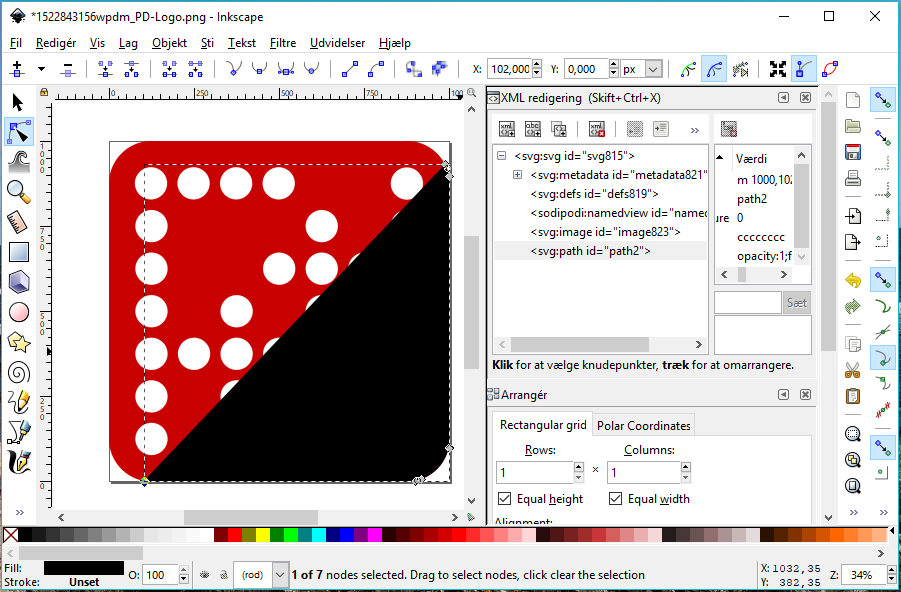
4. Now, we are done with drawing our main path for the new drawing:
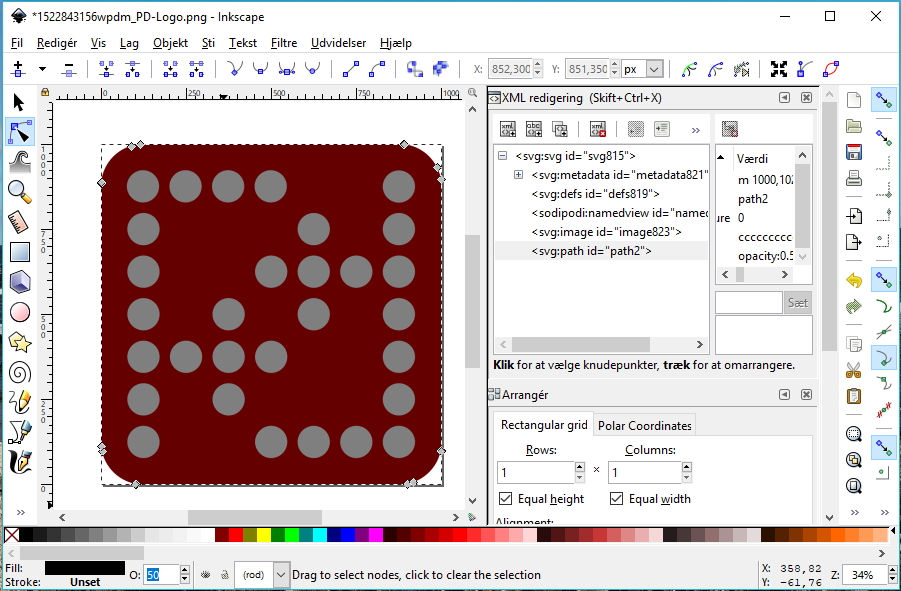
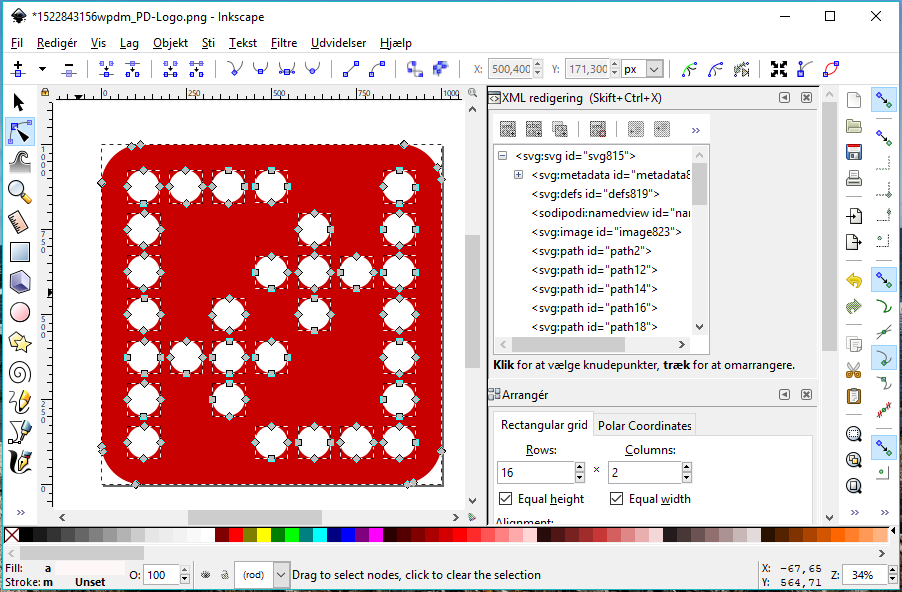
5. Next step is to include the circles. Because we drew the new shape with a color, our original bitmap is now hidden, so we have to reduce the opacity, in order to see the position of the circles. In this example, we change the opacity from 100% to 50%:
6. Now that we can see the circles, we can start drawing with the Bezier tool again:
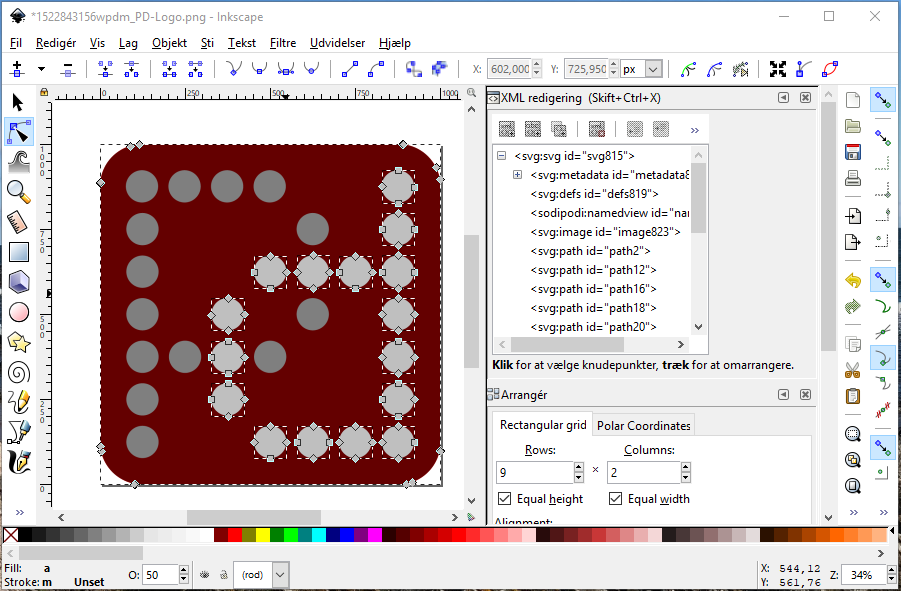
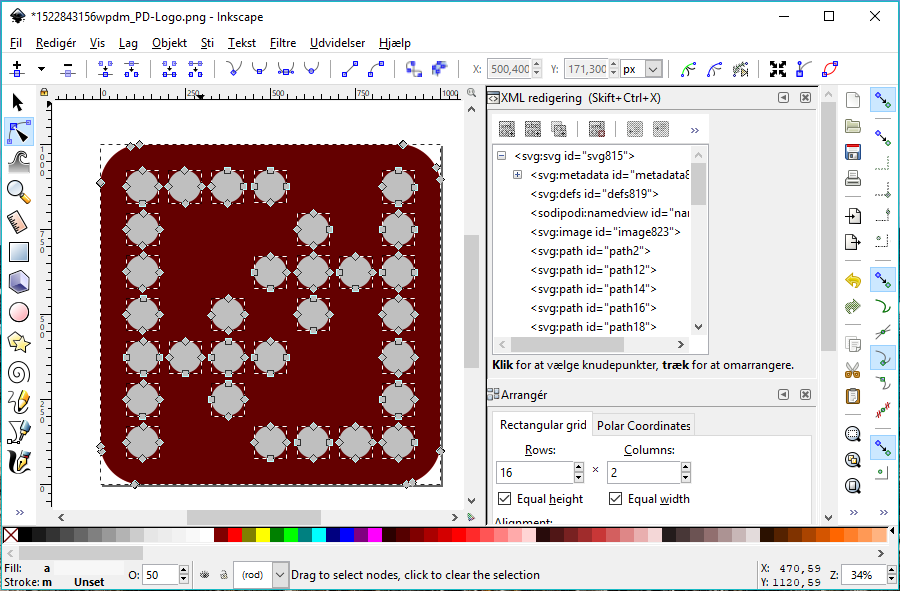
7. Draw all of the circles:
8. Now we set the opacity back to 100 %:
9. Now we decide the color of our drawing, by picking a color in the palette of colors on the bottom on the screen.
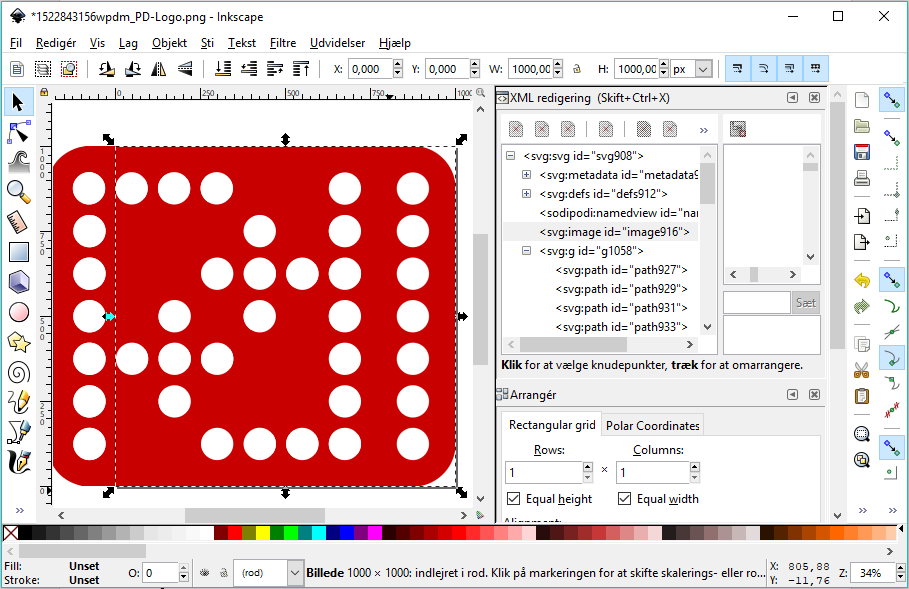
10. We also have to remember to delete the original bitmap drawing, which is still laying in the background.
Do this by selecting all the newly drawn paths, and then pull the drawing to a location so that the original bitmap becomes visible. (Use ctrl+g to group the path together, for easier use):
10. Now just click the part of the original bitmap which becomes visible, and click delete:
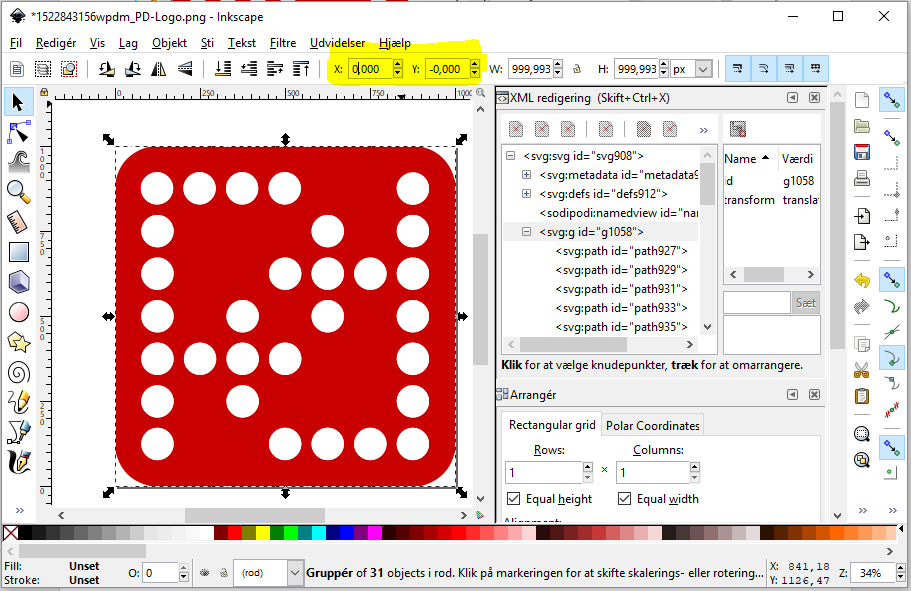
11. Now center your drawing by changing the “x,y” values to 0,0:
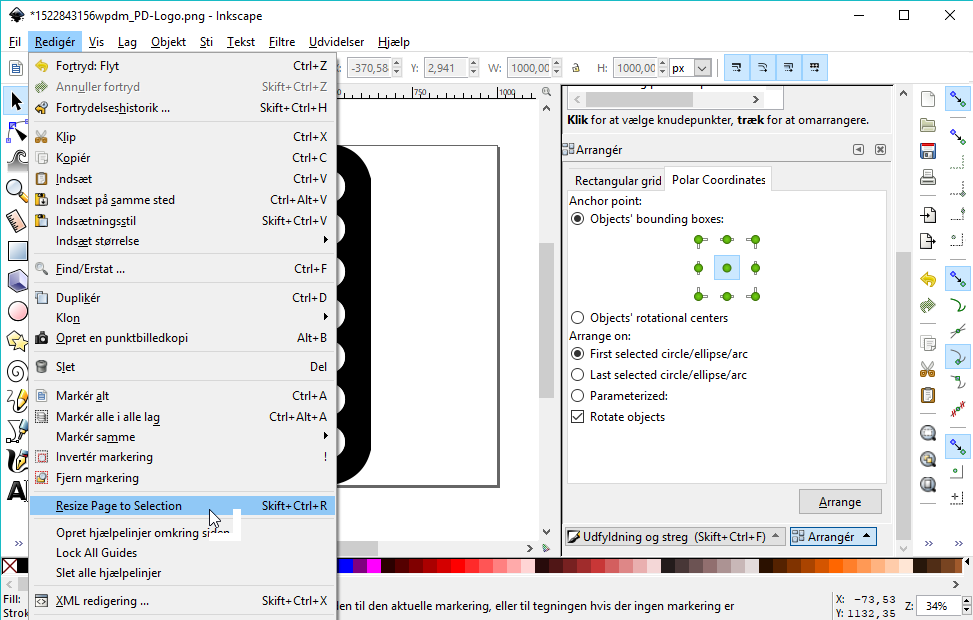
12. As the final step, make sure that your artboard fits your content perfectly by choosing “Edit” -> “Resize Page to Selection”:
13. You have now finished redrawing your original bitmap in vector graphics, and it is now a valid input for the converter when saved as “.svg”.